Owner
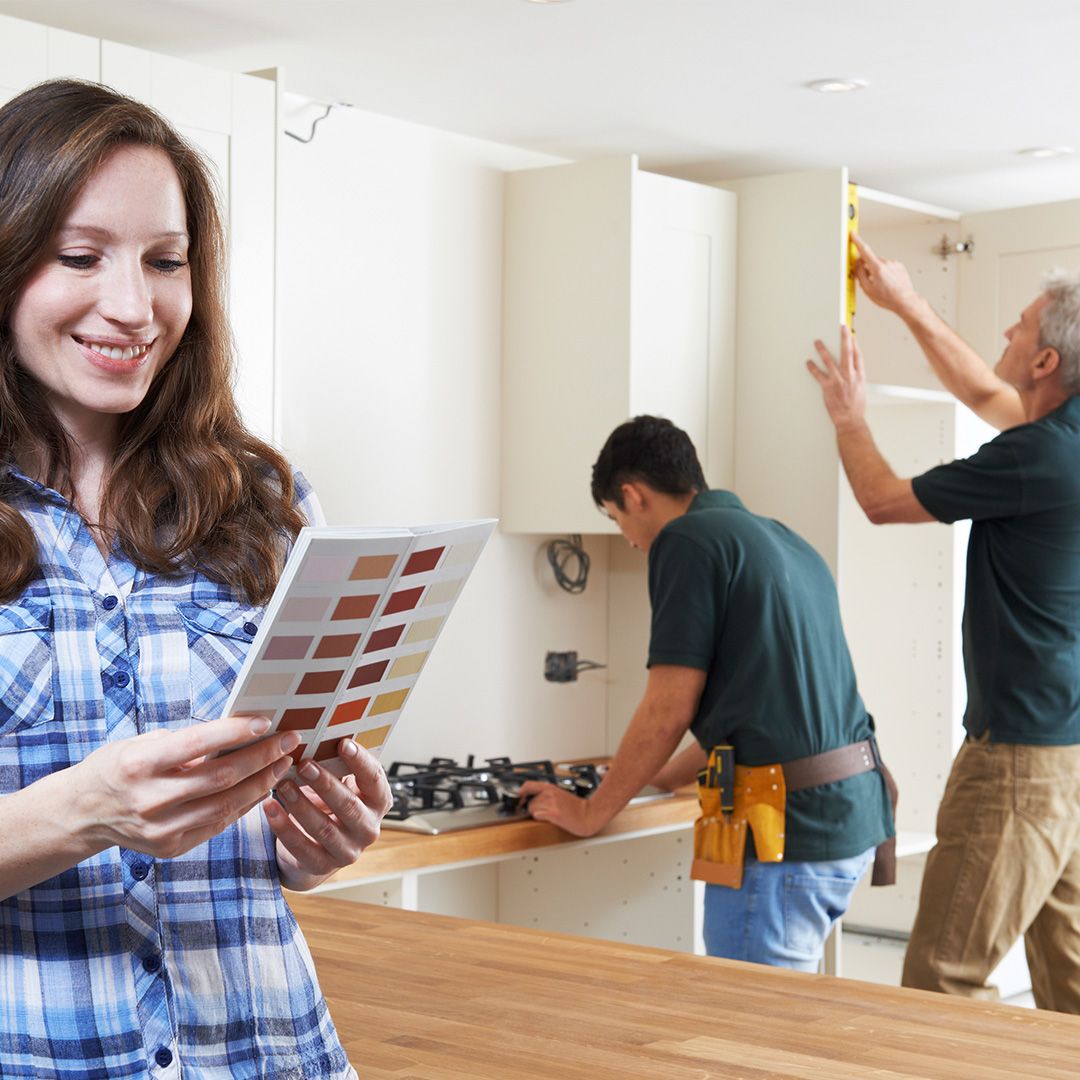
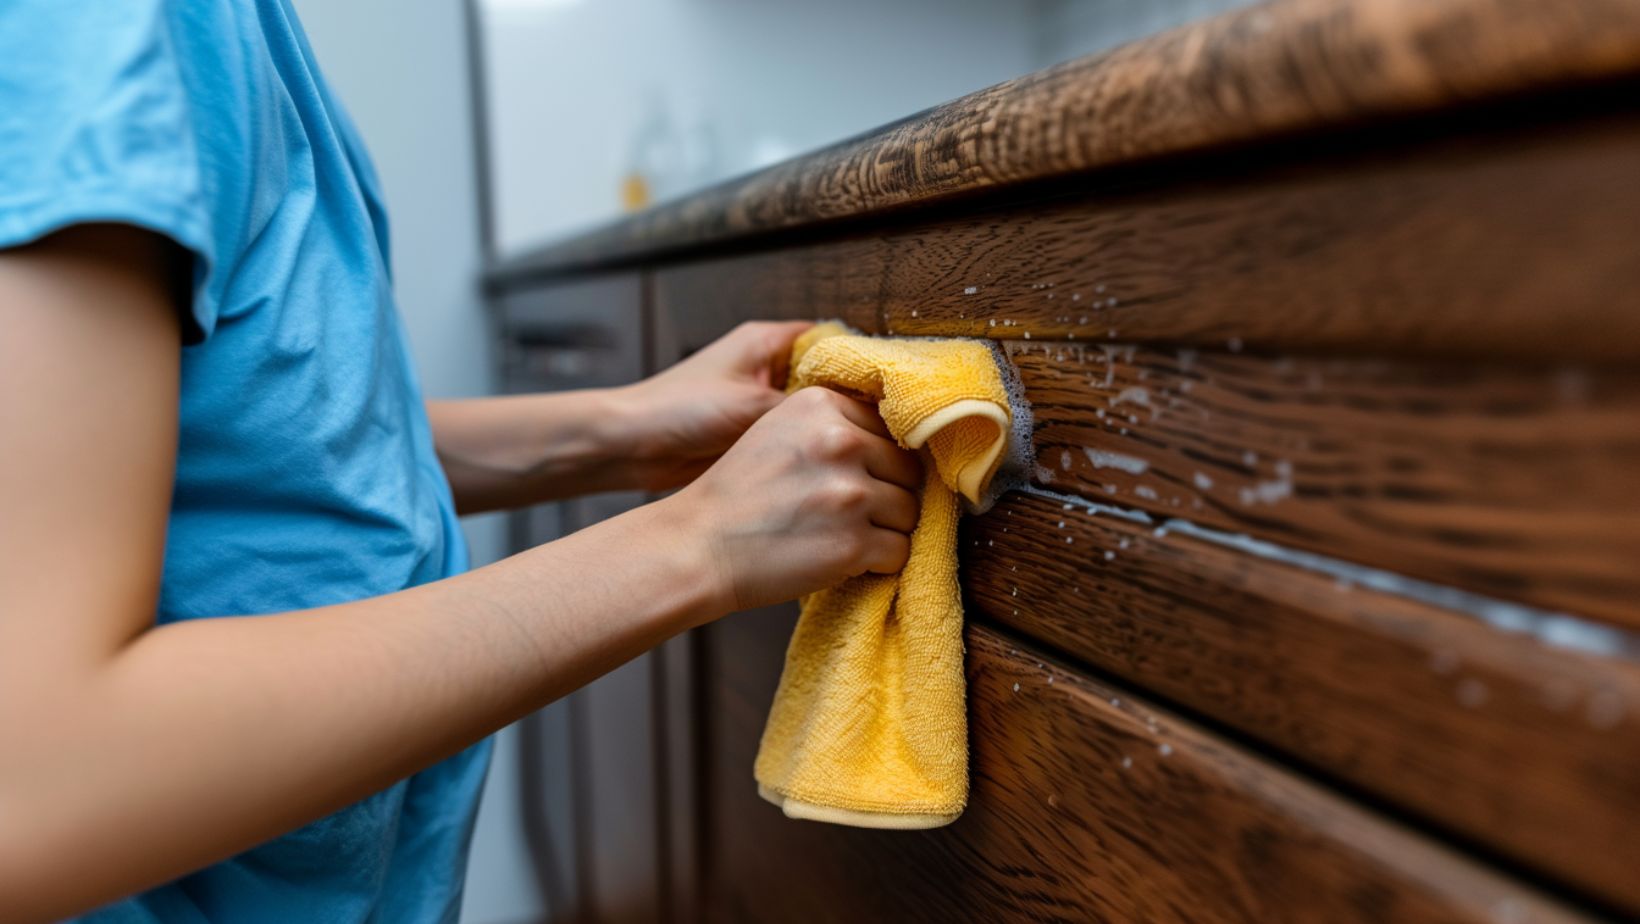
Before starting any cabinet painting project, thorough cleaning of the cabinet surfaces is essential. Proper cleaning ensures that the paint adheres well and the finish remains smooth and durable. In many cases, consulting a cabinet painting company can provide expert guidance and professional results. This article explains why cleaning your cabinets before painting is crucial, reviews the best cleaners and methods for removing grease, provides step-by-step cleaning guides for wood and laminate cabinets, offers DIY cleaning solutions, and details how to prep your cabinets for painting.
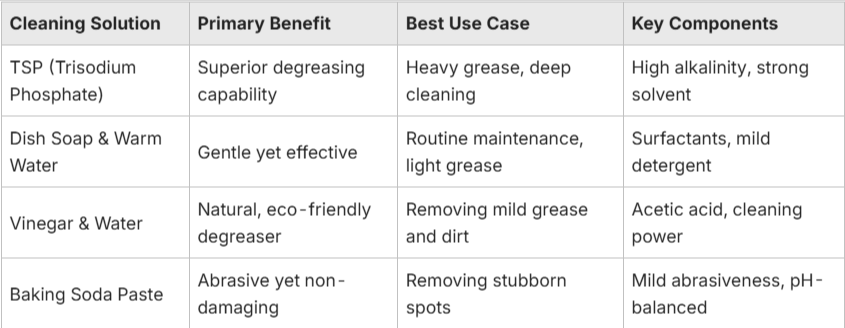
The effectiveness of a cleaner in preparing cabinets for painting largely depends on its chemical composition and how well it interacts with the specific cabinet surface. Commercial degreasers often contain strong chemicals designed to break down tough grease and grime quickly, making them highly effective for heavy-duty cleaning. However, they can be harsh and may require careful handling and thorough rinsing to avoid damaging surfaces.
On the other hand, homemade mixtures typically use milder, more natural ingredients like vinegar, dish soap, or baking soda. These solutions are gentler on cabinet materials and environmentally friendly, making them suitable for routine cleaning or less severe grease buildup. While they may not remove heavy grease as efficiently as commercial products, homemade cleaners provide a cost-effective and safe option for maintaining cabinet cleanliness.
Both commercial and homemade cleaners have important roles depending on the cleaning needs—commercial degreasers for deep, stubborn grime, and homemade mixtures for regular maintenance and sensitive surfaces. Selecting the right cleaner involves balancing cleaning strength with surface protection to ensure cabinets are properly prepped for painting.
Commercial degreasers like trisodium phosphate (TSP) are excellent for removing tough grease and grime. TSP breaks down oily residues and prepares surfaces for primer application. Its high alkalinity makes it a favorite among professional cabinet painters for heavy-duty cleaning.
Dish soap mixed with warm water provides a gentle, effective cleaning solution for moderate grease. A 50/50 vinegar and water mixture or a mild detergent blend is ideal for routine cleaning on sensitive surfaces. For heavy grease buildup, however, a stronger degreaser like TSP may be necessary.
Microfiber cloths trap dust and grease without scratching surfaces. Soft-bristled brushes reach corners and crevices, and non-abrasive sponges or scrub pads work well for general cleaning. Combining these tools ensures thorough removal of contaminants.
Cleaning wood cabinets involves specific steps to preserve the wood’s natural beauty while preparing it for painting.
Use a mild TSP solution or dish soap with warm water, which effectively removes grease without harming the wood. Specialized wood cleaners and conditioners can also protect the wood grain before painting.

Laminate cabinets require a balance between effective cleaning and gentleness to protect the finish.
Yes, removing hardware allows for a more thorough cleaning and avoids accidental damage to handles and hinges.
An oil-based or shellac-based primer is recommended as it seals the surface and blocks stains, ensuring excellent adhesion.
Use a small, soft-bristled brush or an old toothbrush to gently scrub corners and crevices, making sure to remove trapped grease or dust.
Yes, excessive water can penetrate wood or laminate and cause swelling, so always use a damp cloth and dry immediately.
A tack cloth removes dust after sanding, creating a clean surface that ensures a smooth and uniform application of primer and paint.
The average cost to refinish cabinets in Florida depends on kitchen size, wood type, and prep work required. Understanding the average cost to refinish cabinets in Florida helps homeowners compare refinishing vs painting and refacing.…
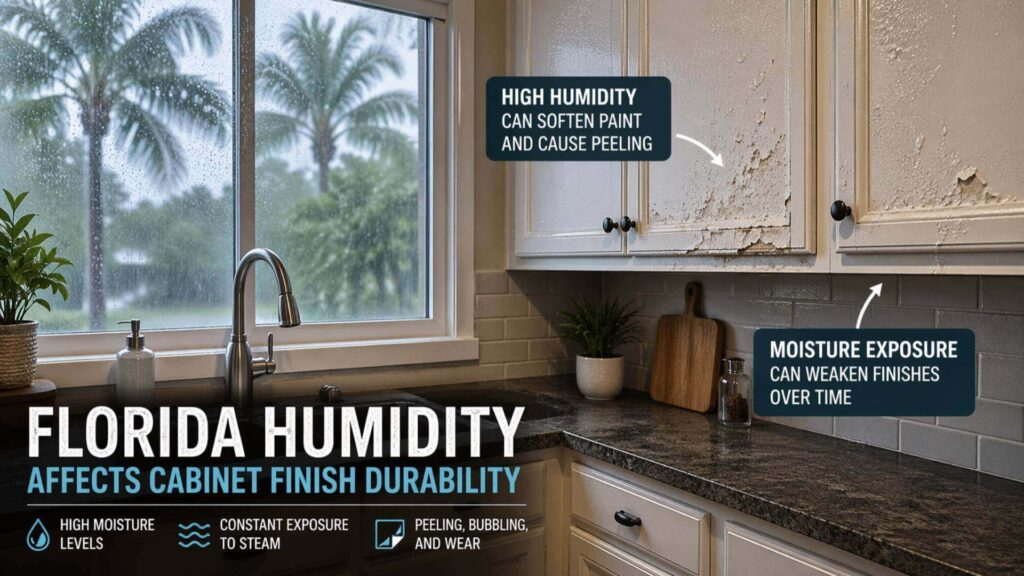
Florida’s humidity can quickly damage your cabinet finish if the wrong methods are used. Understanding how Florida’s humidity affects your cabinet finish helps homeowners avoid costly peeling and repairs. This guide explains the science behind…
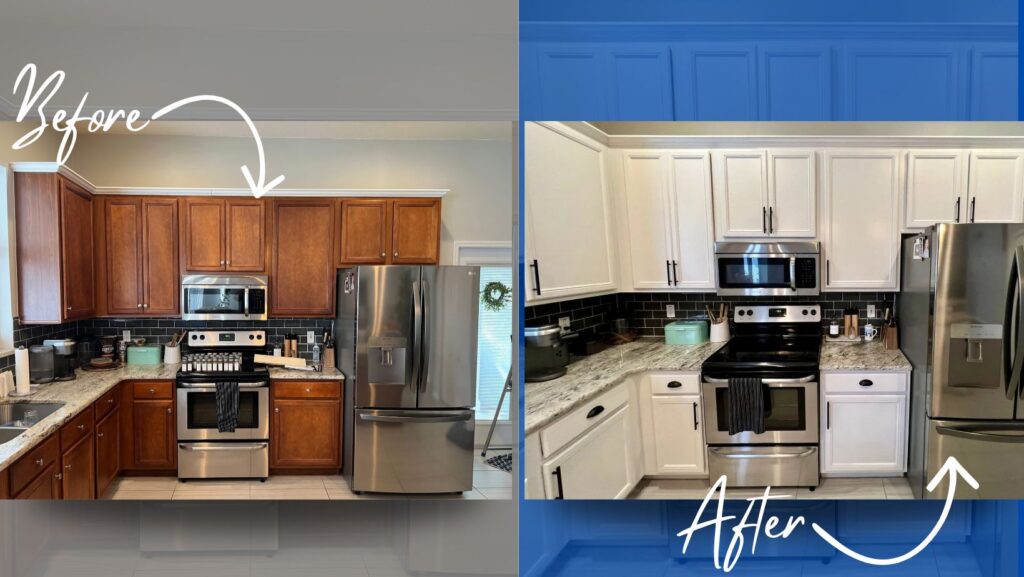
Explore stunning cabinet painting before-and-after transformations in Lakeland, FL, including real project costs, timelines, finish options, and what local homeowners can realistically expect from start to finish.