0% Financing For 18 MONTHS

Essential Tools for Cabinet Painting Beginners

Painting your kitchen or bath cabinets is one of the highest-ROI upgrades you can do yourself. Cabinet surfaces see constant touching, steam, splashes, and cleaning chemicals, so the finish must be tough and smooth. That reality makes tools just as important as the paint you choose. With the right kit you can clean thoroughly, sand evenly, prime for reliable adhesion, and lay down a finish that resists fingerprints. If you’re new to cabinet painting, use this guide as your practical roadmap for assembling the essential tools and using them well.
Picture of  Brian Shaffer

Brian Shaffer

Owner

Start With Clean: Degreasing and De-glossing Tools

Great cabinet paint jobs begin long before the first brush stroke. Grease, cooking vapors, and hand oils create a film that repels coatings, so your first tools are cleaners. A dedicated degreaser, a bucket, and non-scratch scrub pads remove the grime and debris hiding around pulls and in door profiles. Pair those with microfiber cloths that lift residue rather than smear it. For stubborn buildup, a plastic razor scraper safely shaves off drips without gouging the surface.
 
After washing, switch to a liquid deglosser—often labeled liquid sandpaper—to chemically dull glossy lacquer and urethane. Wipe it on with lint-free pads, follow the label about rinse or no-rinse steps, and let the surface dry fully before you prime.
 
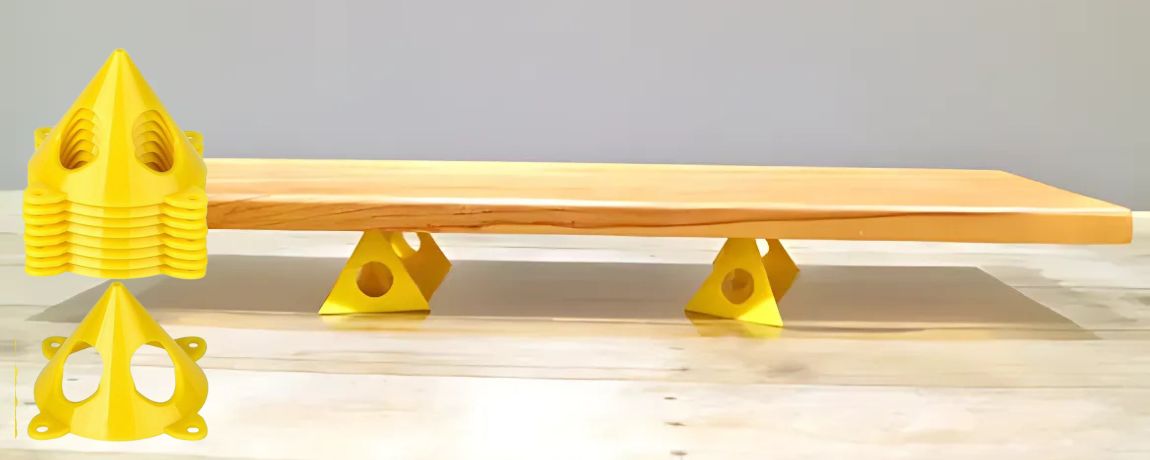
Once everything is clean, build a simple worksite. A folding work table or a pair of sawhorses topped with plywood gives you a stable, comfortable height for cleaning and painting. Add painter’s pyramids so you can elevate doors and work both sides in one session. That small setup keeps fresh coatings out of dust, speeds drying, and saves your back during long sanding passes.
 
Essential tools for cabinet painting beginners: painter’s pyramids supporting a wood cabinet door

Sanding Essentials That Make the Finish

Even with deglosser, sanding is your mechanical insurance policy for adhesion and smoothness. A random-orbital sander speeds through flat panels without leaving straight scratches, while soft-sided sanding blocks help you feather edges and profiles by hand. Stock up on discs and sheets in grits 120, 150, 220, and 320. Start around 120–150 to scuff the existing finish, move to 220 for smoothing, and use 320 between coats for that silky, furniture-grade feel.
 
For oak or other open-grain hardwoods, a water-borne grain filler and a flexible spreader can transform the look from painted wood to painted furniture. Apply thinly with the grain, let it dry fully, then sand to 320 before primer. The time you invest here pays off later with fewer coats and less aggressive sanding between them.

Prime Like a Pro: Bonding Primers and Application Tools

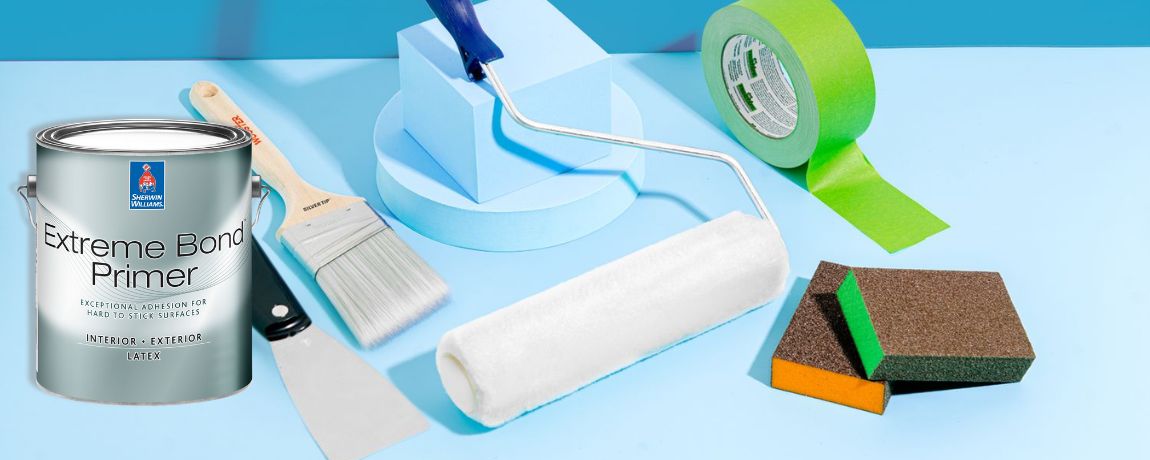
Cabinet painting beginners primer and tools—Sherwin-Williams Extreme Bond Primer, roller, brush, tape, sanding blocks
Primer is not just extra paint. It’s the bridge that bonds old finish to new and blocks stains from telegraphing through. For most cabinet rehabs, a high-adhesion bonding primer is the safest choice, especially on glossy or previously varnished doors. Strain primer through a mesh paint filter to remove skins and nibs that otherwise end up on your doors. Use an angled sash brush for grooves and inside profiles, then immediately roll flats with a high-density foam or microfiber mini-roller to level brush marks and leave a uniform film ready for sanding.
 
If you’re going from dark oak to soft white, consider having primer tinted a medium gray. It improves coverage and helps bright colors reach their target shade in fewer coats. A bright, portable LED work light is a surprisingly important tool here; it rakes across the surface and reveals misses and roller chatter before the primer dries. Fixing those in the moment is easier than sanding out hardened mistakes later.
 

Brushes, Rollers, and Sprayers: Choose Your Finish Path

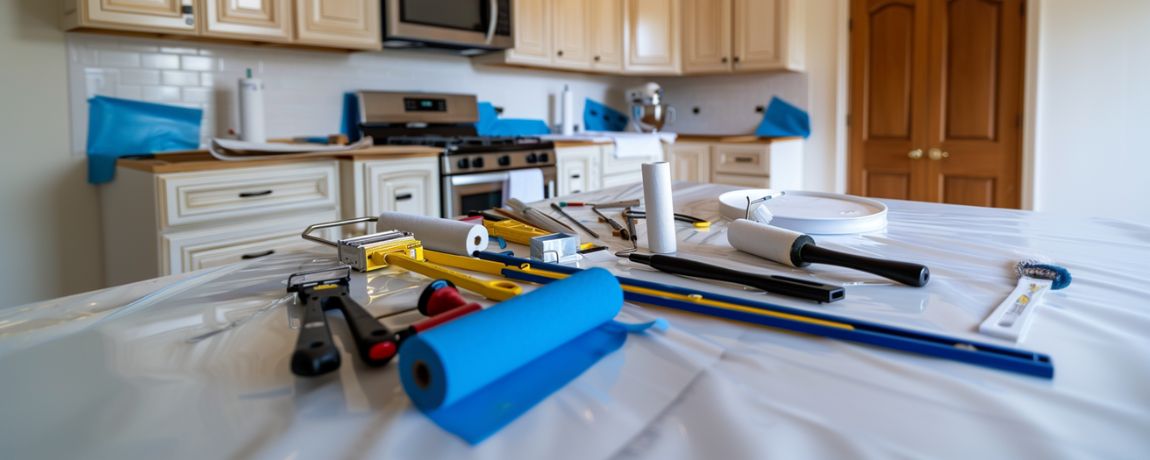
New painting tool kit with brushes and rollers on plastic-covered island in clean bright kitchen, cabinets masked and ready to paint. Cabinet painting beginners.
Your finish tools determine how refined your cabinets look. Quality synthetic-bristle brushes hold more paint and release it smoothly, letting you tip off edges and rails without flashing. For rolling, four- to six-inch microfiber covers in the 1/4- to 3/8-inch nap range deliver a fine, low-orange-peel texture that still levels nicely. If you want that factory, sprayed look, a handheld HVLP sprayer or an airless sprayer with a fine-finish tip can produce an ultra-smooth coating; practice on scrap and always strain paint before spraying to avoid clogs.
 
Regardless of method, decant finish into a cut bucket with a magnetic brush holder. It’s easier to manage than a gallon can and dramatically reduces contamination. Maintain a wet edge by working in logical sections—stiles, rails, then panels—so the coating has time to self-level. The best finishes come from steady, repeatable passes with the right tools in your hands, not from rushing.

Masking, Labeling, and Hardware Organization

Organization is a tool, too. Before removing anything, stick numbered tape flags on each door and inside the corresponding cabinet; take a quick photo of the layout. A cordless drill with a dedicated bit and a magnetic tray or divided hardware container keeps hinges and screws together by location. Use quality painter’s tape in two widths and pre-taped plastic for fast masking of openings, boxes, and floors. Seal tape edges with a light burnish from a clean putty knife to stop bleed-through and get razor-sharp paint lines.
 

Safety Gear and Ventilation You’ll Actually Use

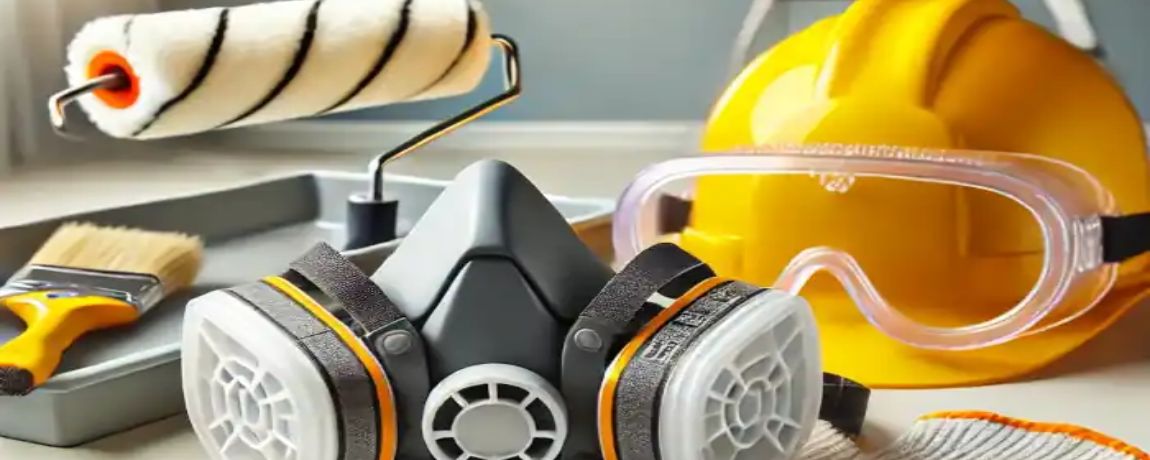
Cabinet painting beginners. painting safety gear respirator mask goggles hard hat with paint roller brush and tray ppe for ventilation
Durable results should never cost your health. Stock up on nitrile gloves, safety glasses, and a NIOSH-approved respirator with cartridges appropriate for sanding dust and paint fumes. A box fan paired with a high-quality furnace filter makes an effective DIY air scrubber; place it near your work but out of the spray path. Open windows when weather allows, and give yourself ample dry time before re-hanging doors to avoid sticking. Good ventilation also helps coatings cure harder, improving block resistance when doors close against frames.
 

Smart Cleanup and Storage Tools

A roller spinner, a brush comb, and a dedicated wash bucket keep tools performing like new. Between coats, wrap damp rollers and brushes in plastic and place them in an airtight container rather than washing every time—this preserves bristles and saves water. For waterborne enamels, a final rinse in clean water followed by a quick spin removes hidden residue that can stiffen bristles. Store leftover paint in airtight, labeled containers; decant into quart cans if the original gallon is half empty to minimize skinning.

A Budget-Friendly Starter Kit That Covers Everything

If you’re assembling your first cabinetpainting kit, you don’t need the most expensive version of every tool—you need the right categories. Build yours with: degreaser, scrub pads, microfiber cloths, liquid deglosser, lint-free wipes, a random-orbital sander, 120–320 grit abrasives, sanding blocks, a shop vac, tack cloths, high-adhesion bonding primer, mesh strainers, an angled sash brush, a mini-roller frame with microfiber sleeves, a cut bucket with liners, quality painter’s tape, masking film, sawhorses, plastic sheeting, a screw map for hinges, and a bright work light. This starter list covers cleaning, scuffing, priming, application, and cleanup without overbuying specialty gadgets.

Pro Tips That Stretch Your Results

Two small tools dramatically upgrade results: a wet-film thickness gauge and a kitchen timer. The gauge teaches you how much product belongs on the surface; many beginners apply too little and starve the film, hurting durability and washability. The timer keeps your recoat windows honest so layers bond chemically, not just mechanically. Finally, keep a running punch list on painter’s tape stuck to your work table—“fill hinge divots,” “sand right-side rail,” “check bottom edges.”

Gear Up With Confidence—and Get Professional Results

From degreasers and deglossers to mini-rollers, bonding primer, and smart labeling, the right tools turn a first-time cabinet project into a durable, furniture-grade finish. Start clean, sand methodically, prime for adhesion, and use quality application gear to avoid brush marks and peeling down the road. If you’d like a second set of eyes on your tool list—or you’d rather skip the trial-and-error—reach out to our team for friendly advice or a fast, no-obligation cabinet painting quote. Let’s get your kitchen looking factory-fresh.

Table of Contents

FAQs About Cabinet Restoration

A high-adhesion bonding primer is safest because it grabs glossy, previously finished surfaces and blocks incidental staining. Use two thin coats rather than one heavy one, and sand lightly between them for the smoothest base.
 
Yes. Brushes reach profiles and inside corners, while mini-rollers level flats quickly, eliminating brush marks. Used together, they produce a cohesive, low-texture finish that looks more professional than either tool alone.
 
If you have a dust-controlled space and time to practice, a small HVLP or fine-finish airless can deliver a factory-smooth look. If not, a quality brush-and-roller setup still yields excellent results with fewer variables to manage.
 
 
Follow the coating’s label for recoat and cure timelines, and when in doubt, wait longer. Many waterborne cabinet enamels are dry to touch in hours but need several days before they’re hard enough to resist blocking and fingerprints.


Skipping thorough cleaning and dust control. Paint adheres best to clean, dull, and dry surfaces. Take the time to degrease, degloss, sand, and vacuum meticulously—your tools make those fundamentals faster and more consistent.


Additional Resources

Achieving a smooth, professional paint finish on your cabinets starts with expert sanding. This crucial step creates the perfect surface for paint to adhere, ensuring a durable and beautiful result. Whether you're a DIY enthusiast…

This comprehensive guide provides detailed instructions and professional insights, featuring tips from cabinet painting co, into safely removing cabinet doors and hardware. It covers the appropriate tools, methods, troubleshooting tips, and safety precautions backed by…

Before starting any cabinet painting project, thorough cleaning of the cabinet surfaces is essential. Proper cleaning ensures that the paint adheres well and the finish remains smooth and durable. In many cases, consulting a cabinet…

Ready To Transform Your Cabinets?

Revitalize your kitchen today with our expert cabinet painting services with The Cabinet Painting Company.