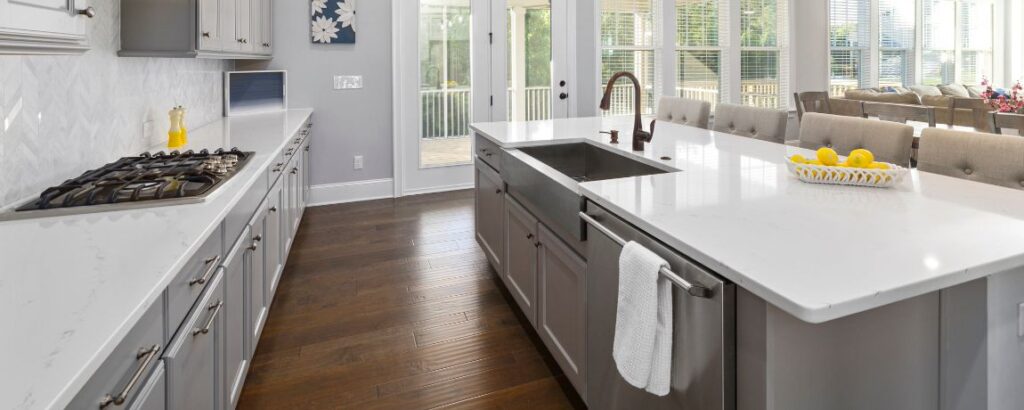
Discover the top cabinet paint color trends for Apollo Beach homes in 2026. Explore coastal palettes, two-tone combinations, and Florida-friendly finishes.
Learn how to hire the right cabinet painting contractor in Florida. Use this 10-step checklist covering licensing, insurance, warranties, materials, and climate-specific requirements.
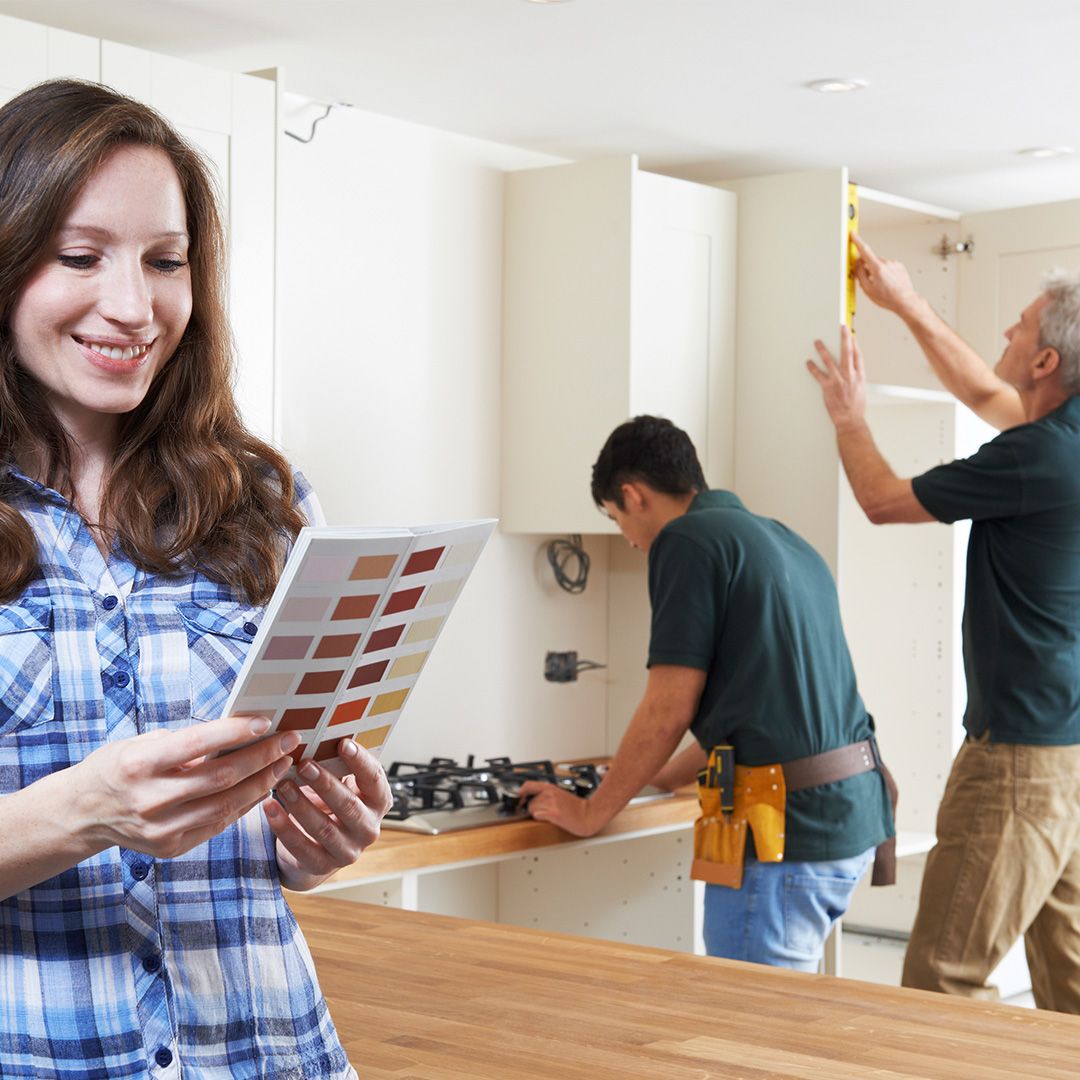
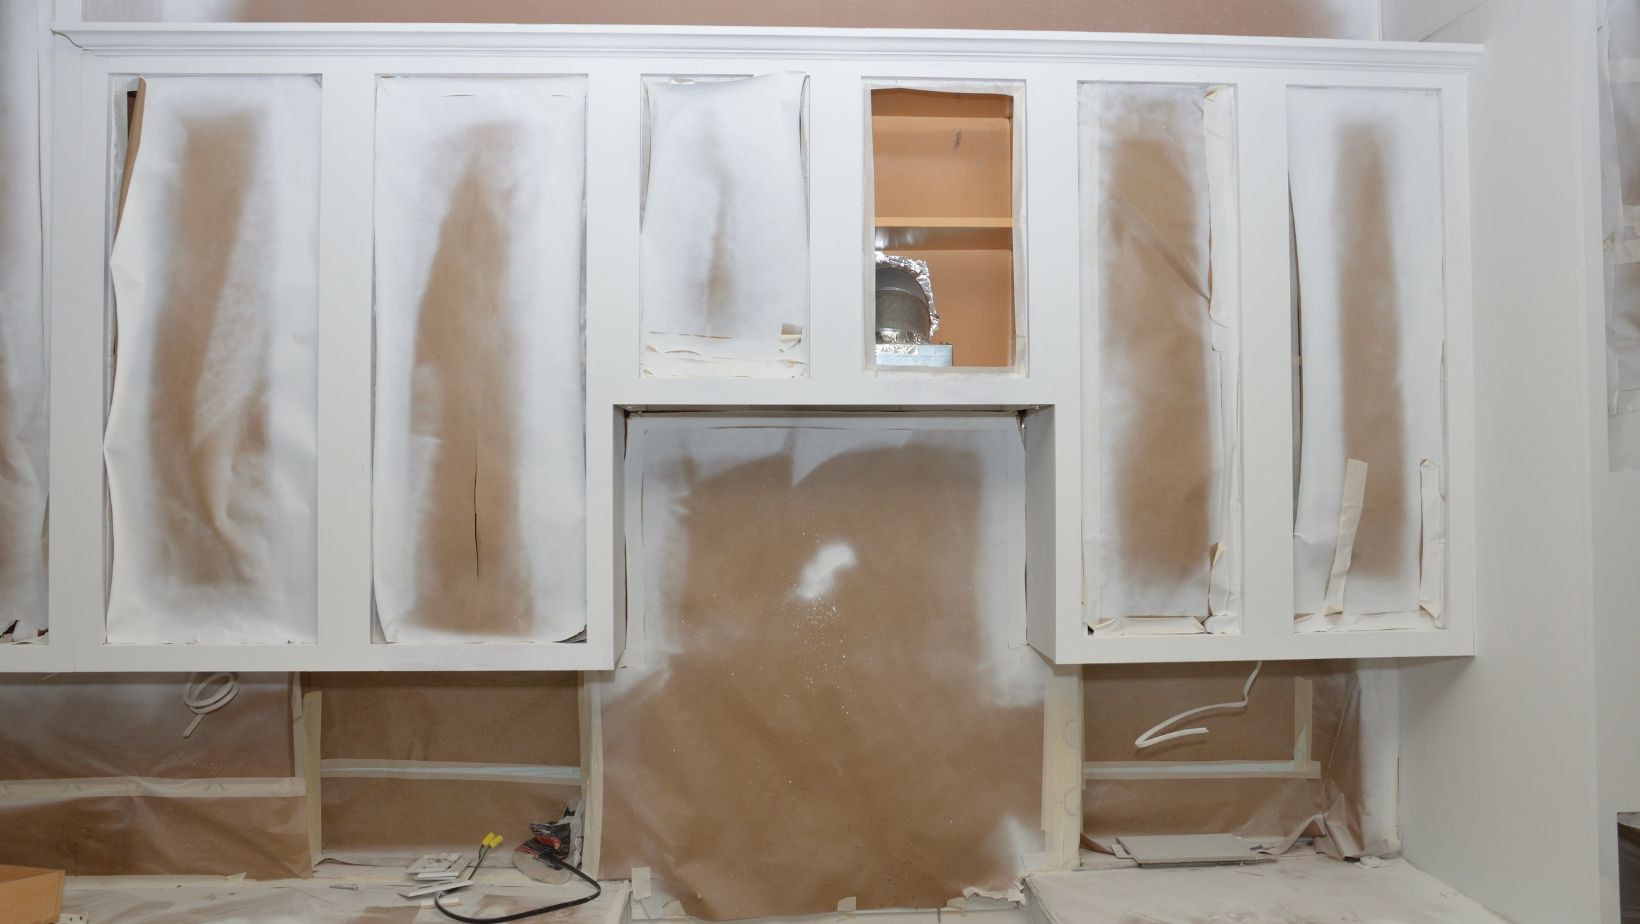
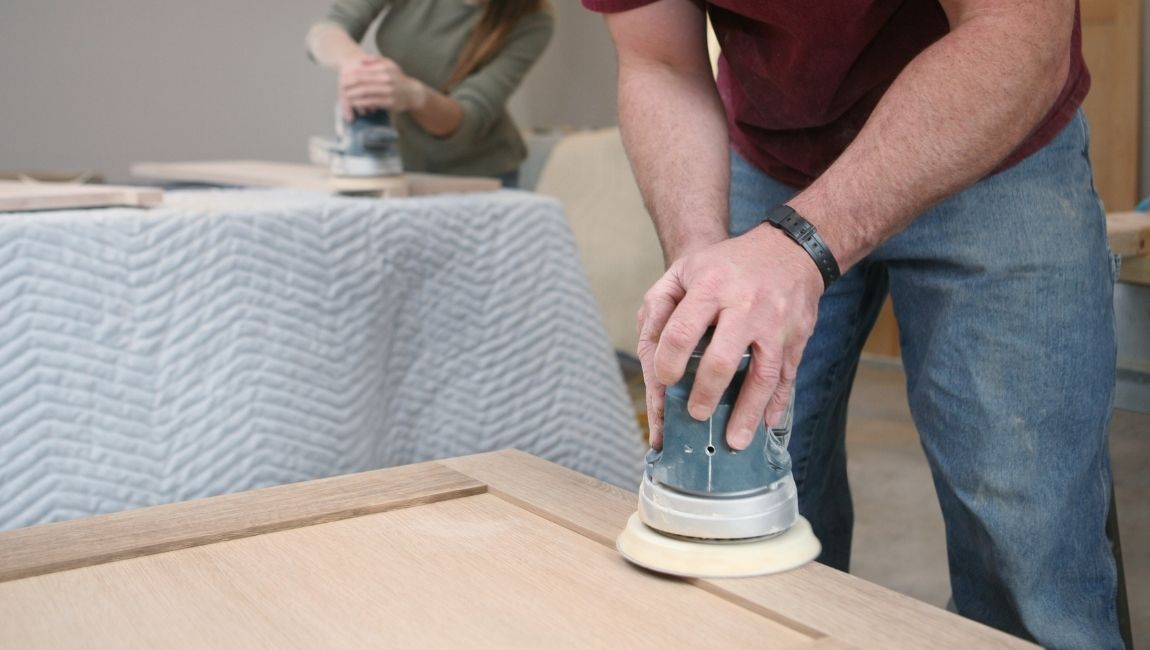
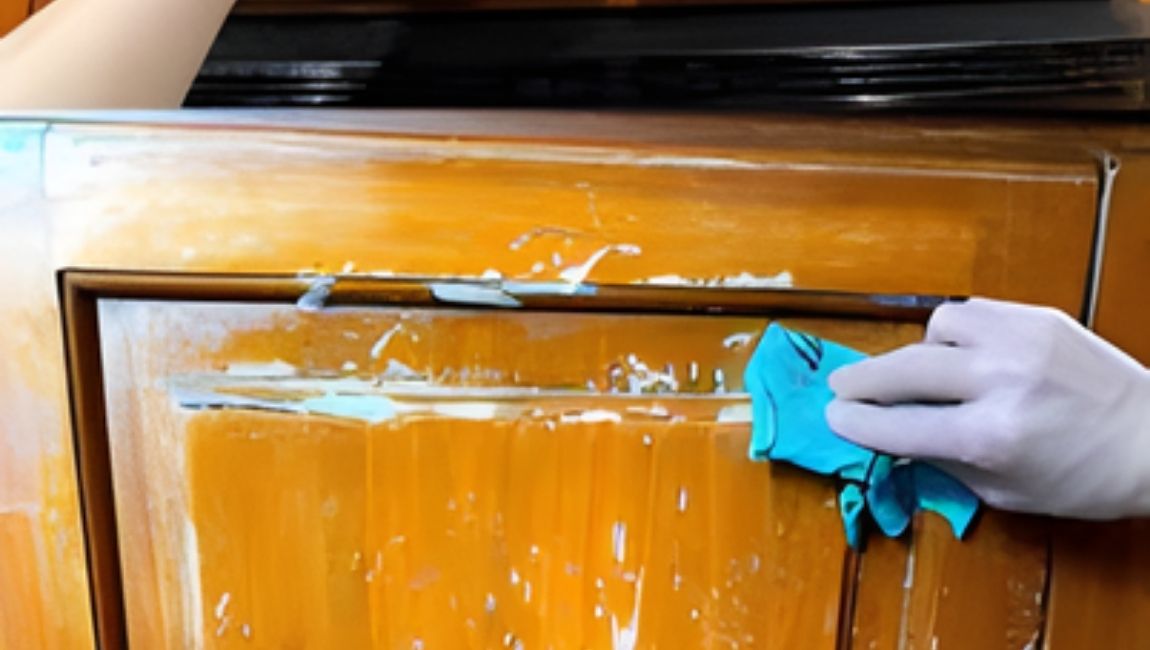
Learn the differences between painting, refinishing, and refacing cabinets in Tampa. Compare costs, durability, timelines, and climate considerations to choose the best option.